How to use a shirt in 10 ways

Introduction
There are few things as timeless as a men’s button-down shirt. My dad owns around 50 almost identical blue and white ones - striped, checked, and plain. When they start looking less-than-professional they end up at my mom’s atelier where we get to play around with the fabrics and explore what we can do with their basic anatomy, fabrics, colors, and structures. The shirts and rhythm of his material taste create limitless possibilities..

Just because a garment was made to be one thing doesn’t mean it has to stay stuck that way forever. You don’t even need to buy fabric to start sewing and upcycling. You may already just have everything you need. We love showcasing and explaining some of our creations. You must know someone who owns a button-down you can reconfigure, right? So hopefully you feel inspired to start creating yourself.
Anatomy of a Button-Down
Most button-downs are made of eight parts: the collar, yoke, two sleeves, front (left and right), and back. If you were to cut a shirt up at all the seams, you would probably be left with more than eight different parts. Usually the collar is made out of two pieces of fabric. The cuff can be made of two different pieces of fabric, and so on. It’s basically a construction set, and when you change the different parts, small iterations can affect how the shirt feels and looks.


Depending on the specific shirt, it can have some tailoring or other details. There’s a lot of fabric in these shirts, and certain parts lend themselves extremely well to playing around with.
Start Shuffling
This is where the fun begins. I once saw a Sex and the City episode where Carrie was wearing a dress which had two straps made out of collars and a row of buttons in between two pieces of jeans. Inspiration is everywhere! All different elements have so many options to them.
Although you can just start experimenting, we do have some suggestions about where you can start.
1. Cutting off the top part of the collar creates a very different look to the shirt immediately. Quick win, fun result.
2. Mingle two shirts together, and create a dress by adding the fabric of a different button-down in between.
3. The sleeves are perfect to be used as two breast parts for a halter top or dress. They even have a roundish shape to them, and if you keep the material double, you can use the yoke as fabric for underneath the halter. Now you have a new top!
.png)
We would never dare to say we’ve tried every option, so every new inspiration someone could come up with would be amazing. If the shirt has very distinguished details, it’s also fun to see how you can use them. For example: the row of buttons shows the garment’s original function and looks classy. You can use it in the front or in the back of the piece you are creating.
Execution
The easiest way to start is taking scissors and cutting off some length, the collar, or even the sleeves. Here, sewing advancements can easily be added by adding or editing details like lace or different buttons. See where you want to go with it. Or where it wants to go with you. Because we have been doing this for some time, we do most of our remodeling quite intuitively.
We see something and just try it. Sometimes we look at pictures, or just sketch something on a piece of paper. Then we start our process of trial and error (including lots of error). We find that it works very well to film ourselves while we are playing around with fabric or old garments. These video clips of our brainstorming can help a lot with the execution of our plans.

"I use these clips to remember what we were trying to do. Seeing how we were planning for it to look, and anything else we talked about. Where did we want a loose fit? How long should it be, and how wide? This is of course what many people use a mannequin for, and it does take a lot of experience for some designs." - Martine
We would love to share some ideas with you.
1. You can create a top by just cutting the lower half of a shirt off in a straight line. Then you sew a little tunnel for elastic on top. Sewing this tunnel requires 2 to 3 cm extra material, so think ahead. Adding shoulder straps is a bit more complicated, but you should have plenty of fabric left to try.
2. If you have two shirts that have the same width in the stomach area, you can simply cut them to put a stripe of one material in between, to make a dress from an old shirt. This one is also shown in the pictures.
3. Another easy option is the ‘blocktop’. It has no sleeves, and if you cut it from an old shirt you can reuse the button placket – making it a basic pattern with an advanced look.
Some general tips: work with the material inside-out to clip or pin things together where you want to sew them. We also use scrap fabric or shirts that are too worn out to pilot test ideas, or look for inspiration on how to solve particular problems in other people’s projects. Upcycling is the cheapest and friendliest way to learn sewing. The more you learn the more you fail… (and the other way around 😉)
If you would want to be part of one of our workshops on how to upcycle a button-down, you can apply here by leaving your contact information.
Styling
I enjoy putting my own unique stamp on a garment or outfit by paying attention to details and wearing things in unexpected ways—especially when it's clothes I’ve upcycled together with my mom. I also love to travel, and being creative with styling really helps cut down on how much I need to pack.
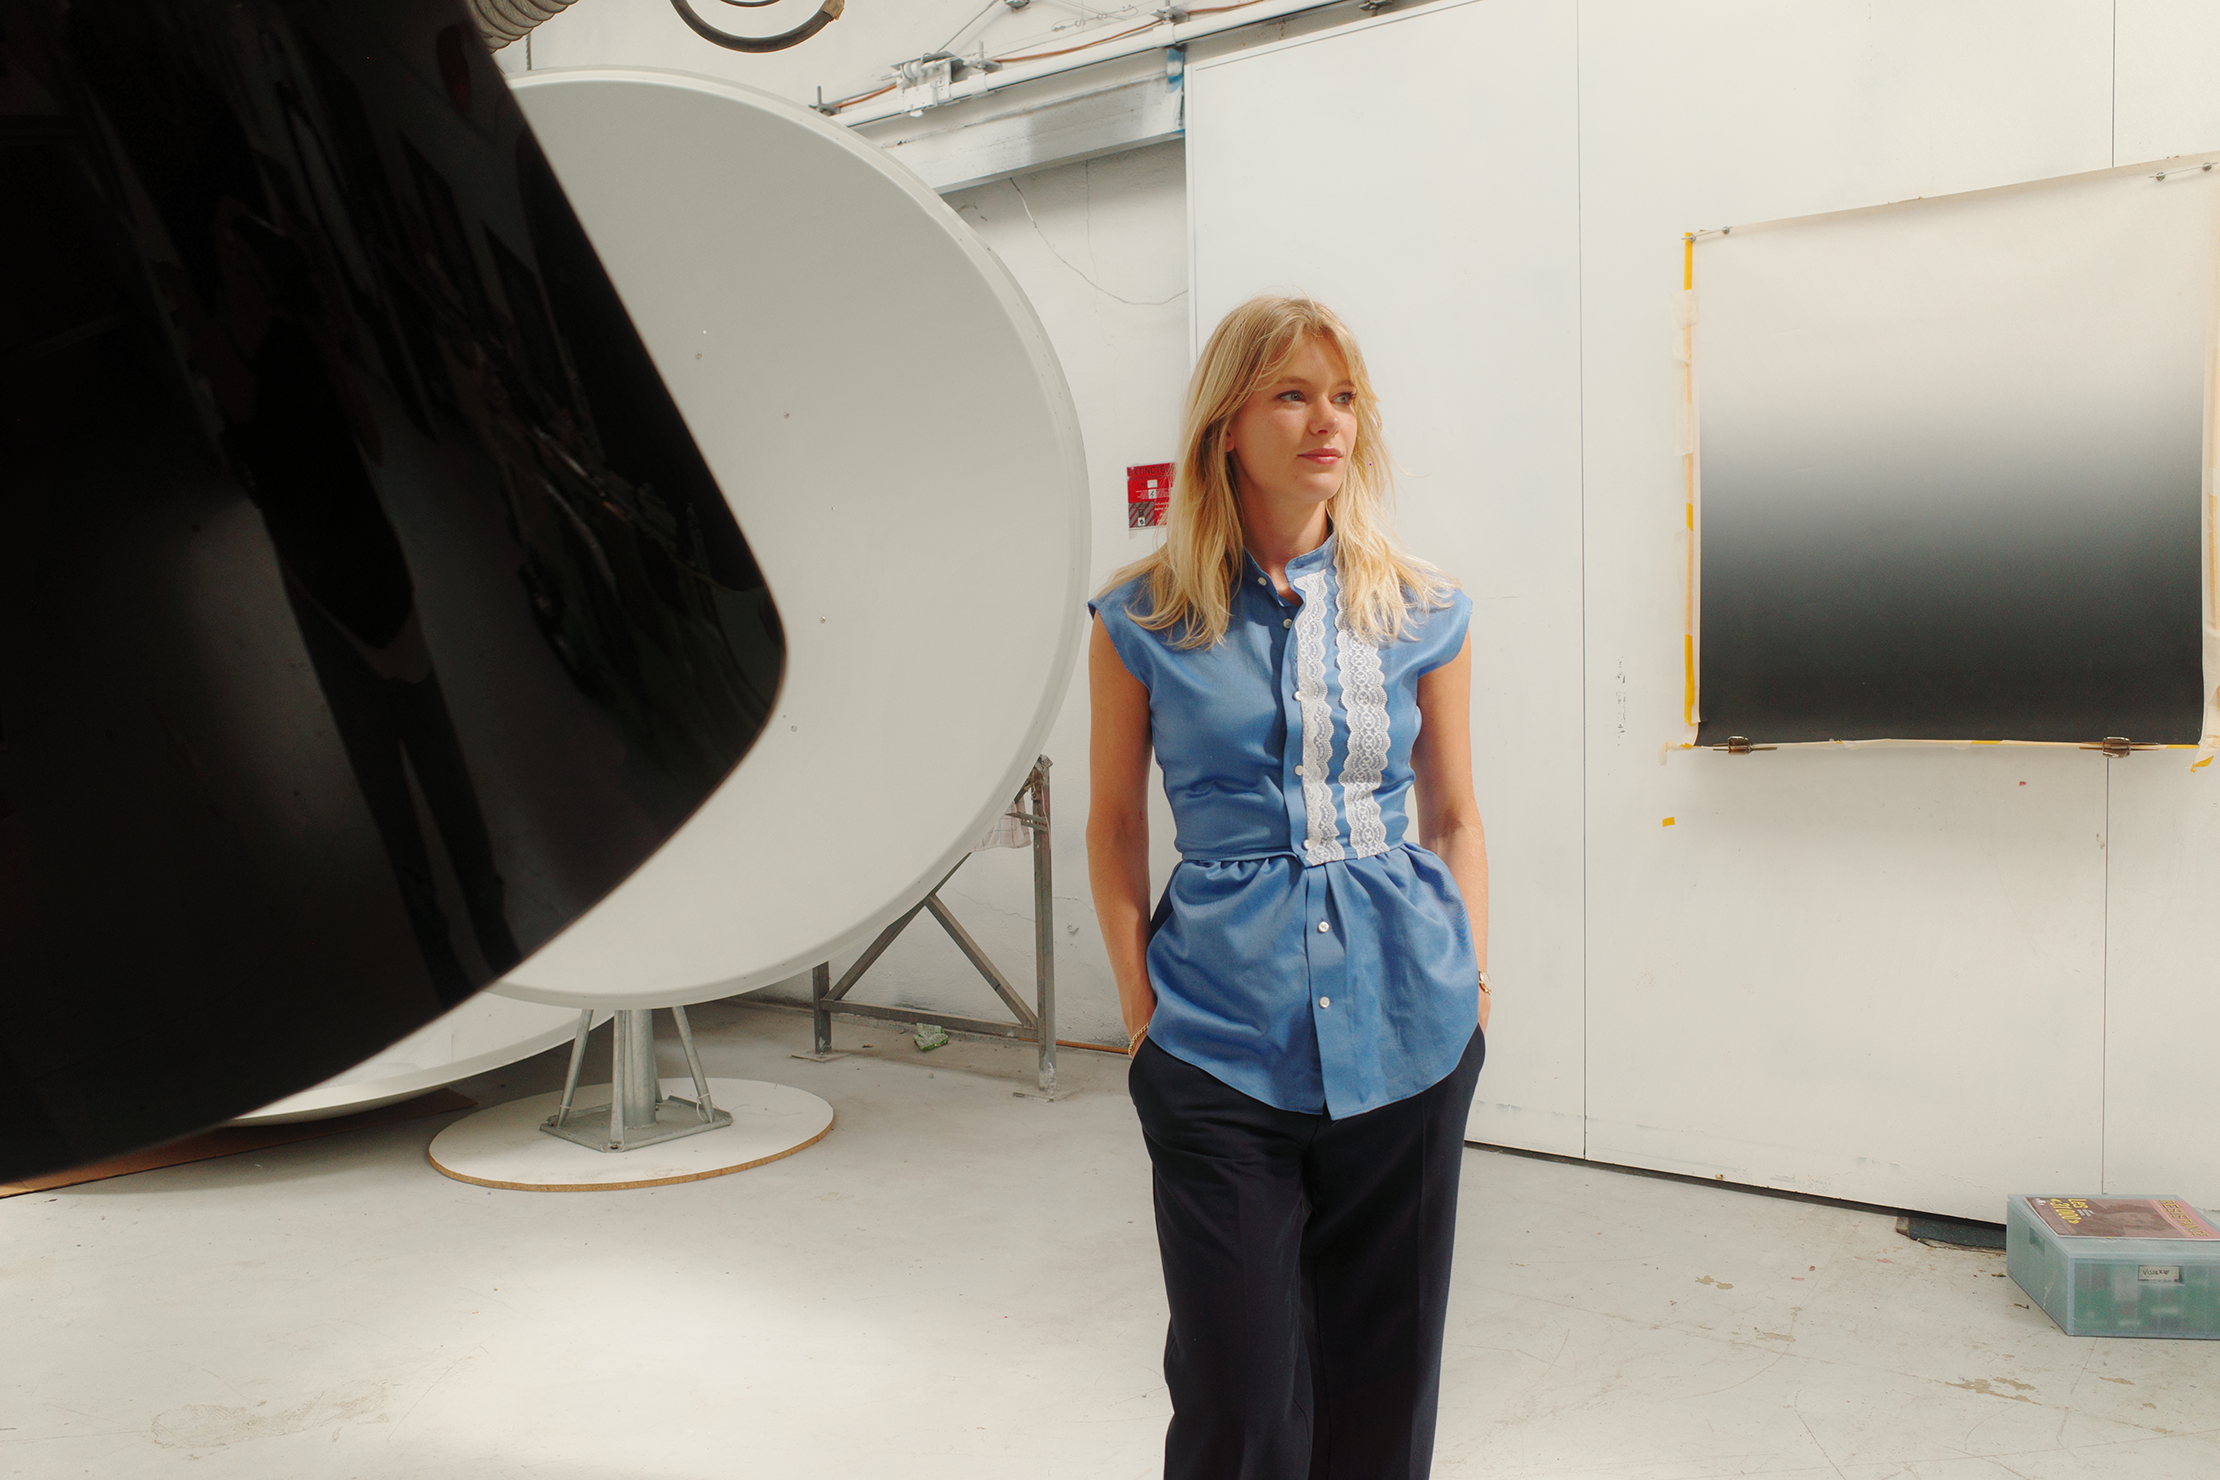
Both the way you turn old clothes into new pieces and how you combine them creates your personal style. One example from this editorial is a top made from the bottom part of a button-down and some elastic. If you look closely at the photos, you'll see it styled with a collar, layered with another top, and worn strapless with a little scarf. Limitless opportunity for self-expression.
We hope you enjoy this photo editorial of our upcycled button-down collection. We’re curious if you can spot the original shirt elements and see how we repurposed them—but even more curious to see what you’ll come up with! Let’s buy less, and create more.


